Which method you use to begin installation depends on how you obtained the program:
File download:
Double-click on the downloaded file and follow the installation instructions shown on screen.
Installation CD:
Place the installation CD in a CD drive and wait a moment for Windows to detect it and run the Setup program.
If installation does not start automatically, open the Start menu and select -> Computer to open the Windows Explorer, and then double-click on the icon representing the drive in which you have inserted the installation CD.
When the autorun program is launched, select the option indicated to open the Setup program. If you access the CD content directly, or have downloaded your Virtual CD program over the Internet, you need to run the Setup program manually, by double-clicking on the executable file.
Follow the instructions as the Setup Wizard guides you through the installation procedure.
|
If you have purchased Virtual CD, make sure you install the full version. The demo version has restricted functionality, and cannot be upgraded to a full version by entering a license code. |
|
If you have already installed a demo version of Virtual CD, simply install the version on top of it. It is not necessary to deinstall the demo version. |
|
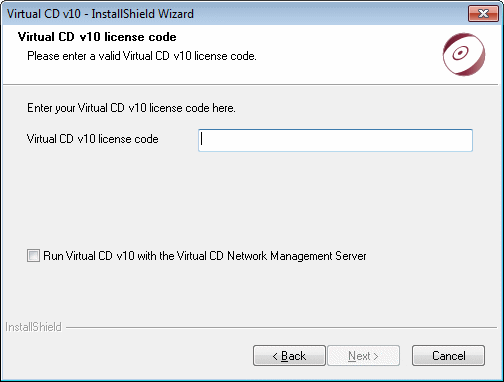
If you are installing the full version you have to enter a valid license code, or have it retrieved from a Virtual CD NMS Server that supports Version 10, before the installation program will run. This step is skipped when installing the demo version. |
|
If you purchase the program on line, the license code is sent in e-mail; if you have an installation CD, the license code is included in the packaging. |
After entering the license code, you can choose between standard ("typical") and custom installation.
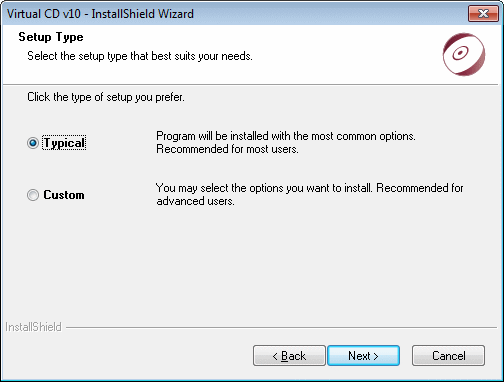
The subsequent steps depend on which mode you select here:
| • | Typical: No further input is prompted; installation starts right away. Virtual CD is installed in the Program Files directory and two virtual drives (Blu-ray drive and Blu-ray burner) are set up. This is the fastest way to install Virtual CD. |
| • | Custom: The Installation Wizard guides you through a series of dialogs in which you can configure various options (target path, number of virtual drives, etc.). This option is recommended for experienced users only. |
|
Most of the settings can be modified later, in the Virtual CD Settings program. The only exceptions are the target path for installation and the support for creating client setups, which are used to distribute Virtual CD in a network. |
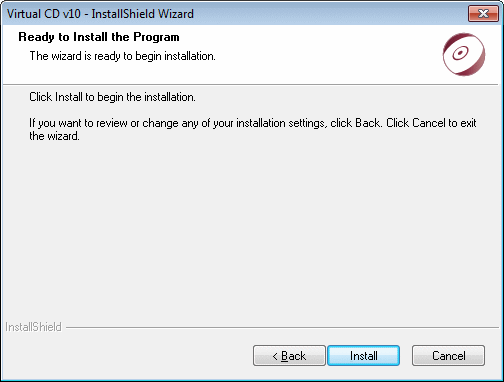
Regardless of which type of installation you choose, the last step is to click on Install before installation begins.
|
Virtual CD has a Plug & Play driver, which means you do not have to restart the computer after the virtual drives are set up, nor after changing the number of virtual drives at a later stage. In some cases, however, you might be prompted by the Windows operating system during Virtual CD installation to restart your computer. It is important that you do NOT restart the computer before the installation has been completed, regardless of any operating system messages. Otherwise, the installation will not work. |
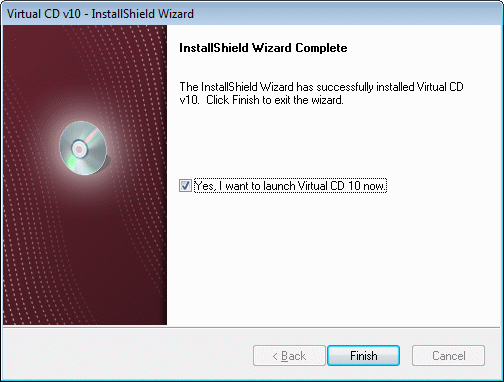
That's it! Following installation, the Virtual CD program is ready for use.