The previous sections described some of the options for creating and finding virtual CDs. In the next step, we describe the basic configuration of virtual drives. The following example illustrates in detail how to add a virtual drive to a computer.
|
Open the Settings program |
In the Virtual CD Starter, click on the Configure settings option to open the Virtual CD Settings program.

|
Make sure you have administrative rights before opening the Settings program so that your changes can be stored. If user account control (UAC) is active, a prompt to use an administrative account is shown when you open the Settings program. |
|
Add a drive |
In the Settings window, click on Virtual Drives on the left to open the dialog page for configuring virtual drives. To add a drive, click on the Drive button. The new drive uses the next available drive letter; in this case, "I:".
|
To add a virtual burner, click on Burner rather than Drive. Click on Add... if you want to specify a drive letter for the selected drive. |
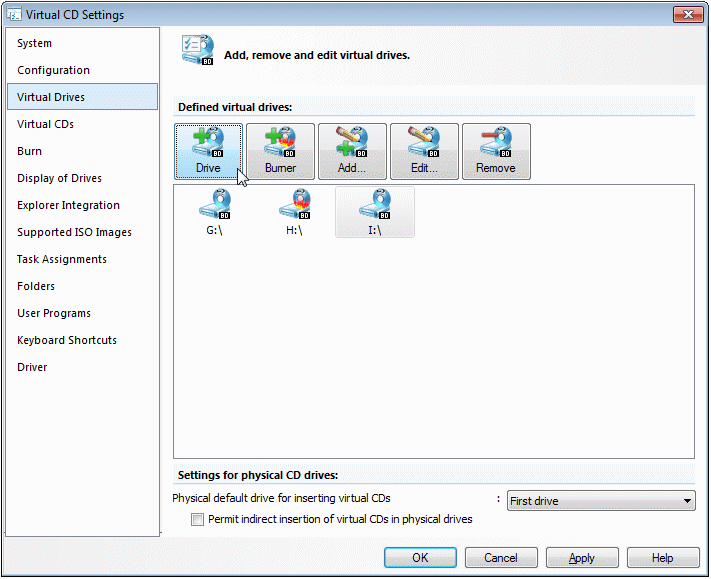
To save your changes and close the Settings program, click on OK.
|
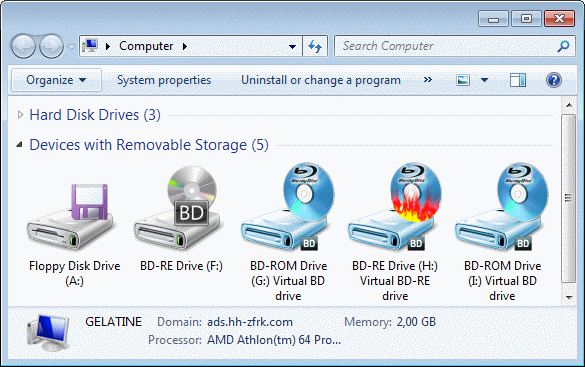
Use the new drive |
Once the drive has been registered in your computer, it is available for use. The system used in our example now has virtual drives on G:, H: and I:.
That's it! You have now added a new virtual drive to your system.
