To edit an existing collection, open the CD Control Center and select Collection Wizard.
|
You cannot edit a collection while it is in a virtual drive. |
|
Run the Collection Wizard |
This is similar to the procedure for creating a virtual CD collection: double-click on the Virtual CD v10 desktop icon to run the Virtual CD Starter and click on Manage images to open the CD Control Center. Before running the Collection Wizard, select the collection you wish to edit. In the Ribbon in the CD Control Center, open the Tasks and Tools tab and select click on Collection.
|
Load the collection |
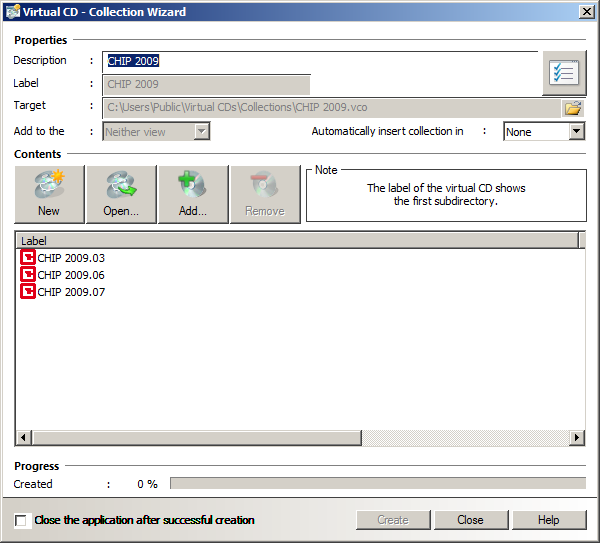
The Collection Wizard opens and loads all files in the selected collection. Modify the collection as desired and click on "Create" to write your changes. In our example, we loaded the CHIP 2009 collection.
|
When editing an existing collection, not all properties can be changed. The label, the target file, and the view to which the collection will be added can be defined only the first time you create the virtual CD collection. |
|
Add images to the collection |
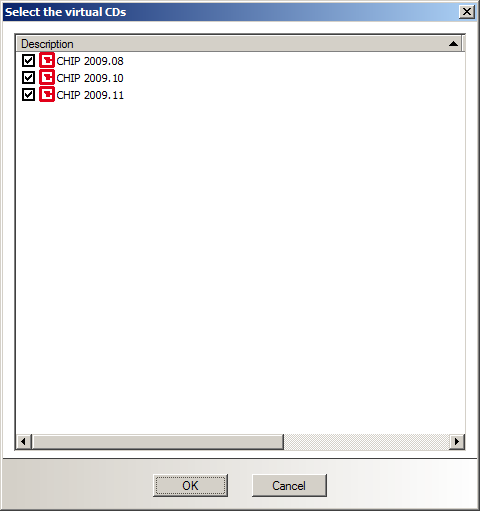
In our example, we now add more virtual CDs to our collection. Click on Add and select the desired virtual CDs in the Select the virtual CDs dialog.
|
The Select the virtual CDs shows only the virtual CDs that do not belong to any collections. |
Click on OK to confirm your selection and add the virtual CDs to the list in the Collection Wizard.
|
Create and test the collection |
Once you have finished editing the collection, click on Create to complete the process.
That's it! - Once the process has been completed, the collection can be inserted and the changes tested.
|
To create another collection at this point, click on New to reset the Collection Wizard and enter new data. |